Tag Archives: Recipe

Feta, Corn and Black Bean Salsa – Always A Crowd Favorite!

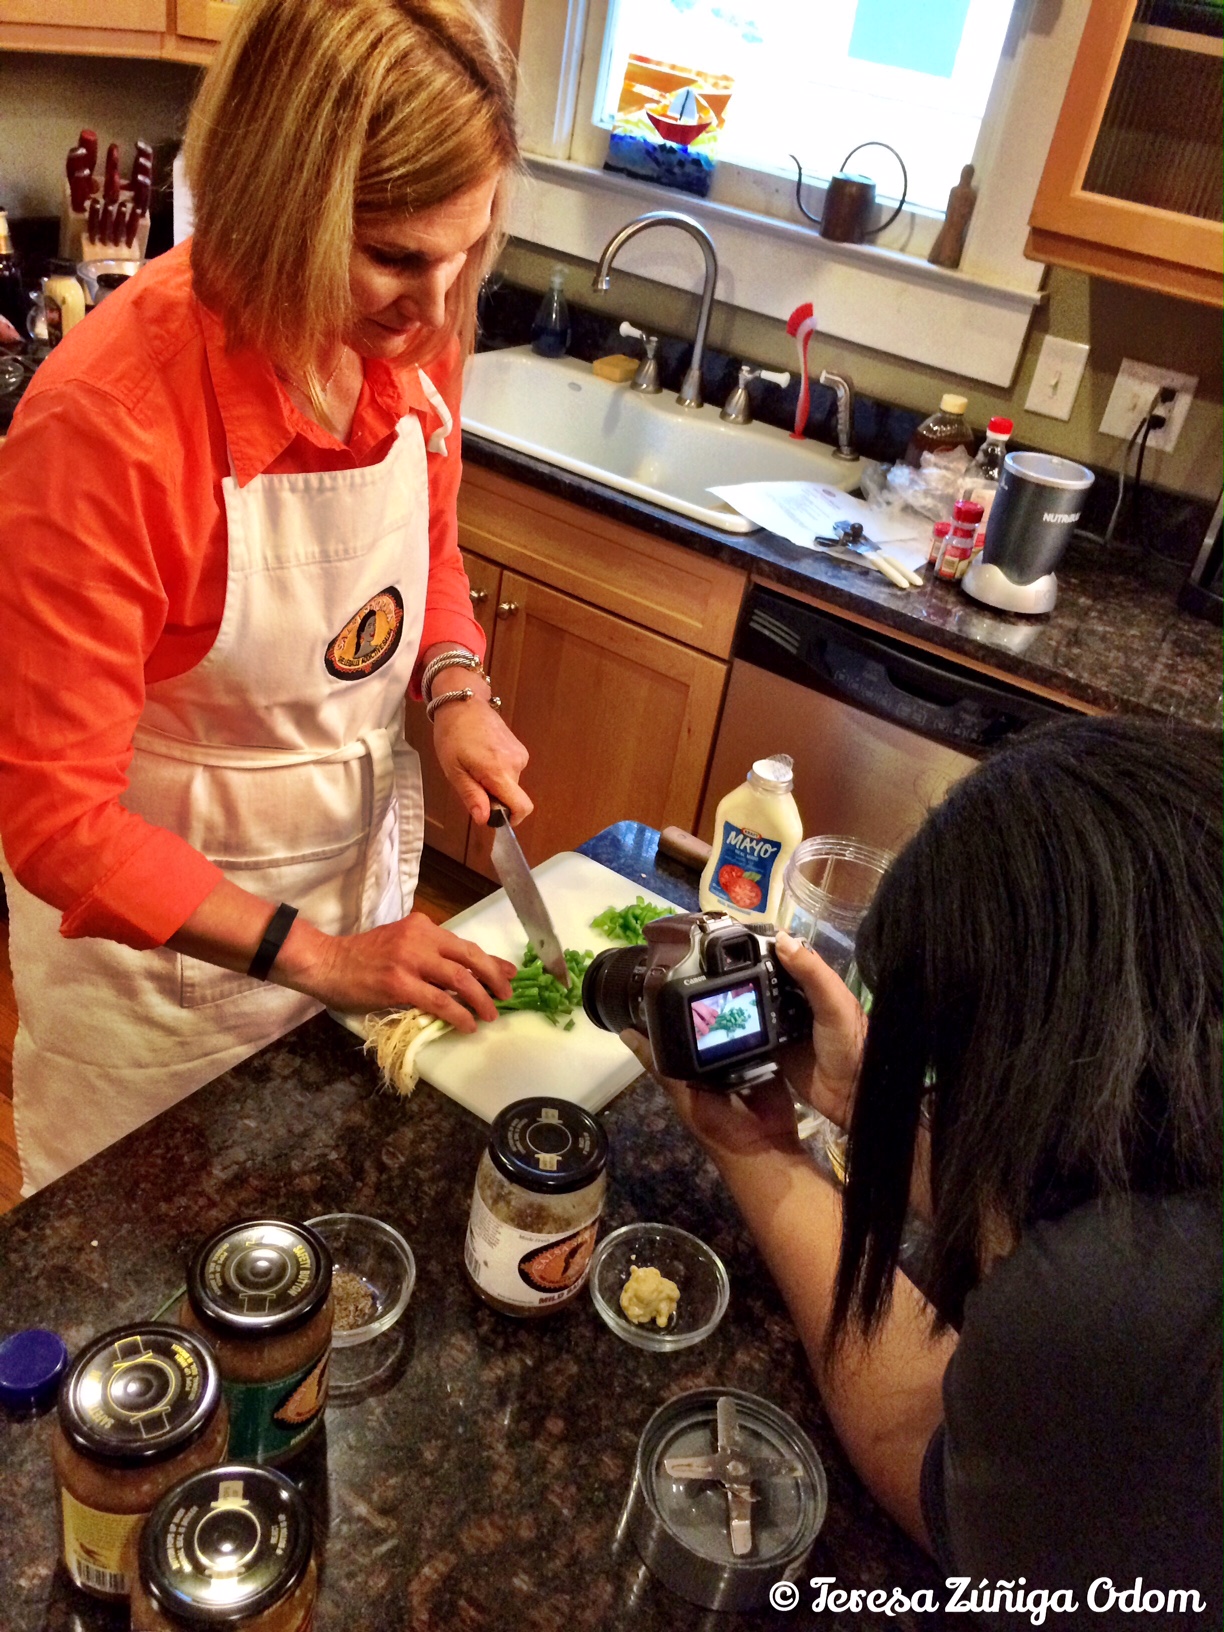
Ingredients for my feta, corn and black bean salsa! Super easy!

Every year for my annual cookie exchange extravaganza, I serve up margaritas and a little Mexican food for my guests.  A few years ago though, I wanted to add a little something extra for everyone to nibble on.  I went through recipes I had collected over the years and found a recipe card I had picked up somewhere for a feta, corn and black bean salsa.  Of course, the “salsa” part got my attention with the Mexican food theme I had going on but what really got me was “feta!”  I LOVE me some feta cheese!!!

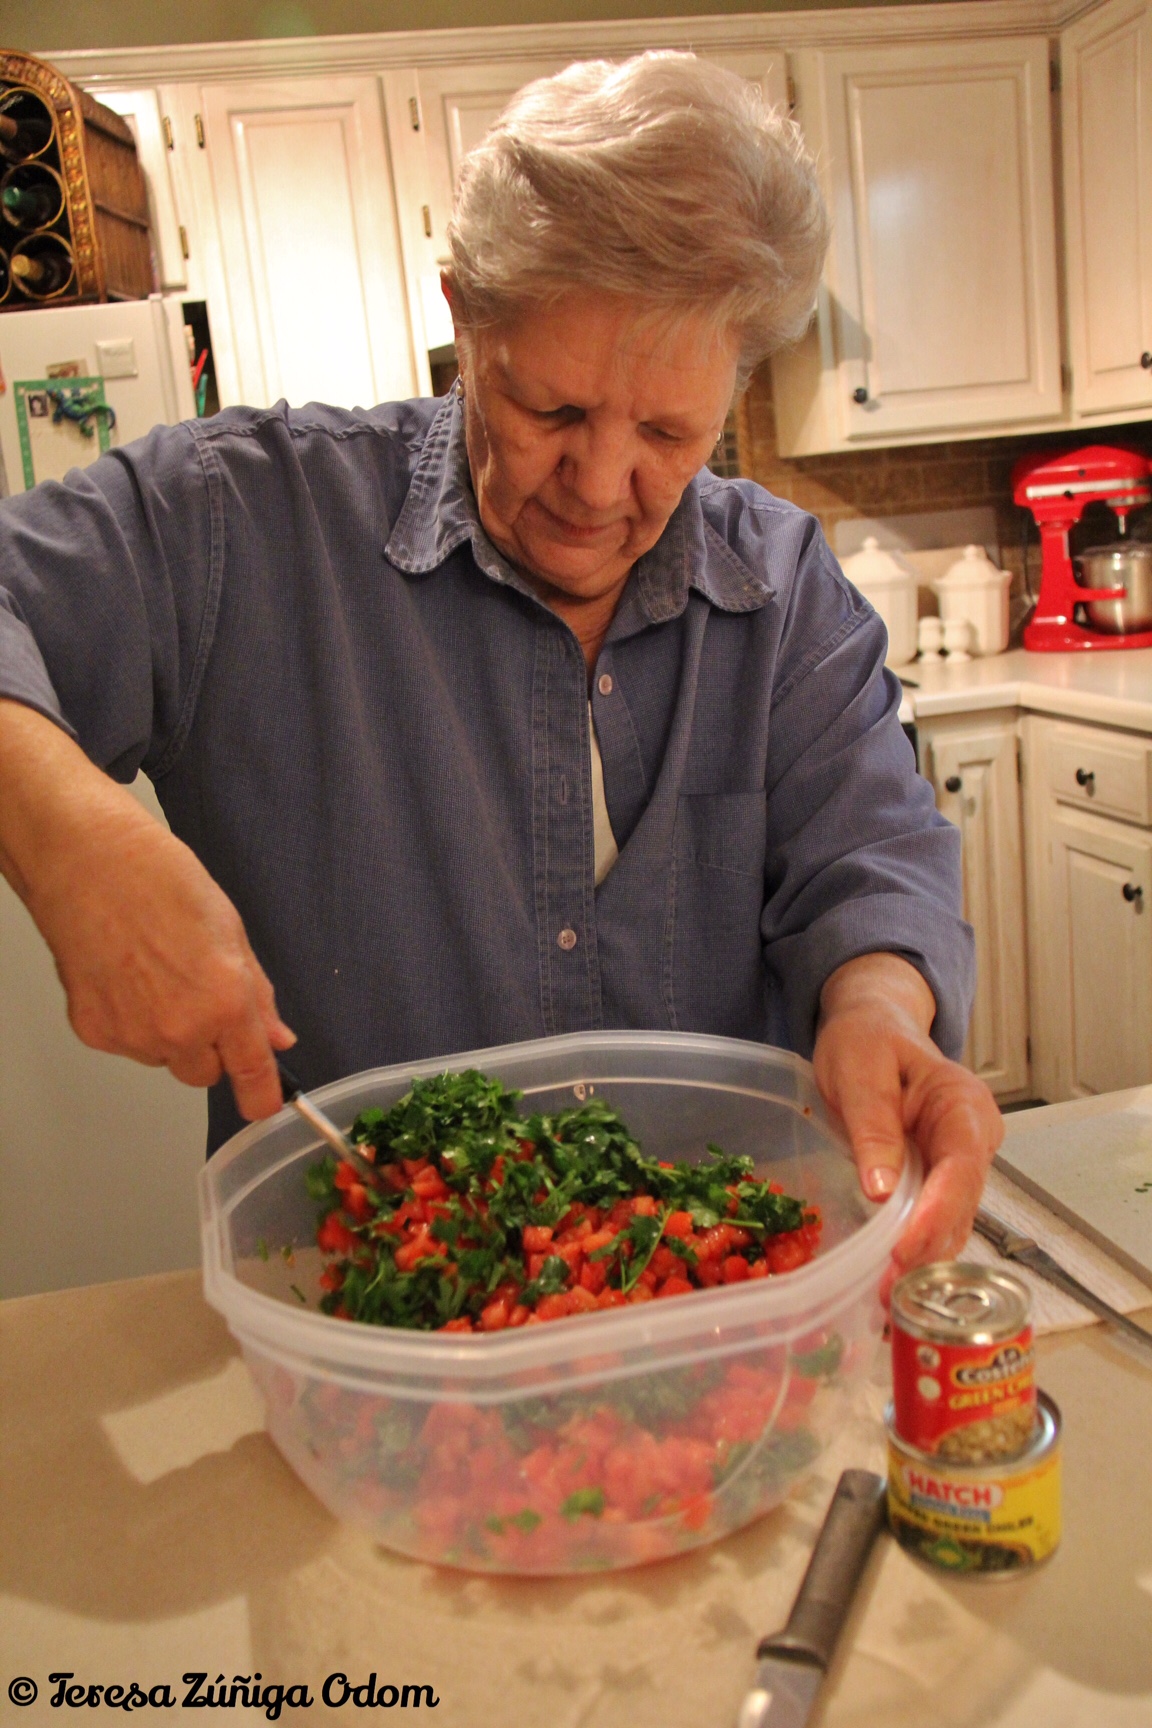
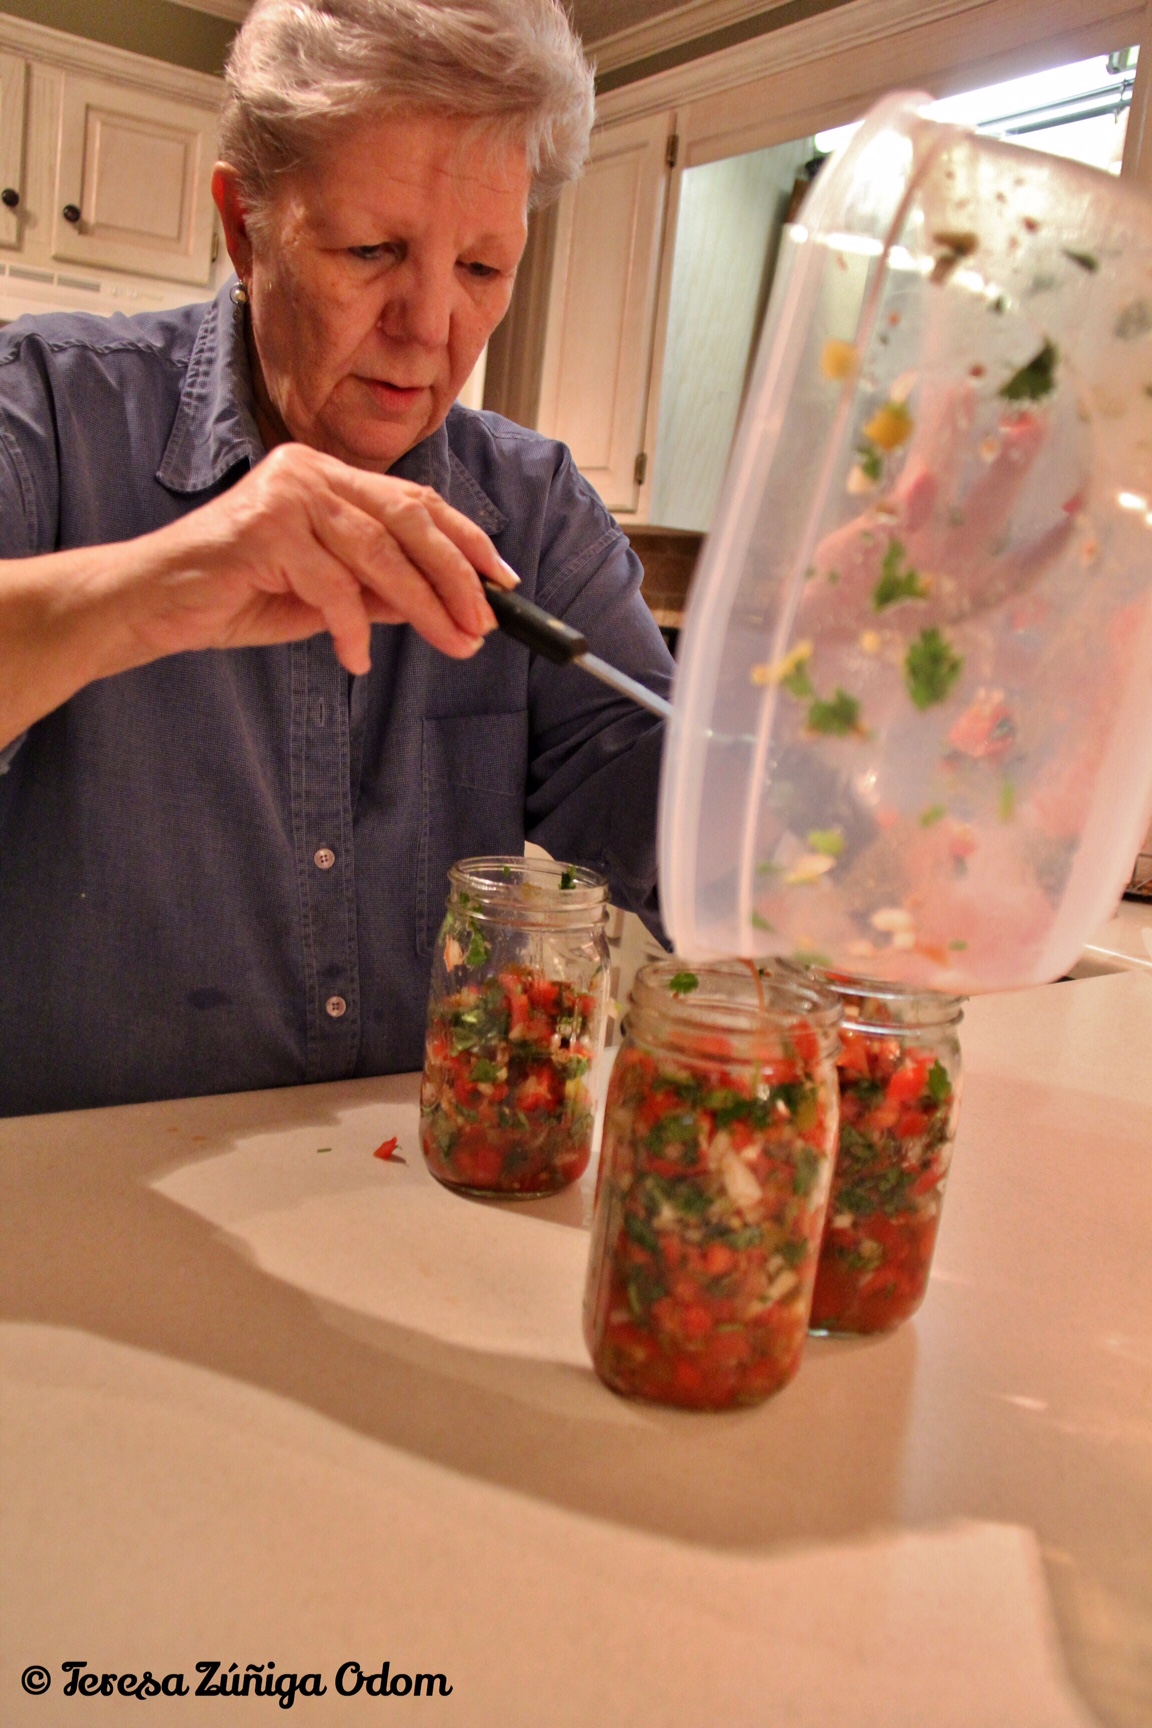
The first time I served it, I don’t think I had much left over to enjoy for myself later!  I took that as a good sign.  So the next year I doubled the recipe and was still lucky to have some left over!  It has become a crowd favorite, for sure…just like my mother’s homemade salsa always is each year.  She brought two large jars of that salsa over last night and it was ALL gone by the time we finished exchanging cookies last night!  (Click here to read about her salsa and get the recipe!)

The best part of this feta, corn and black bean salsa recipe is how easy it is to put together.  You just mix it all together, chill for 4 hours, and you’ve ready to serve!

Ingredients include:

  • 2 cans low sodium black beans (rinse and drain)
  • 2 cans of sweet corn (rinse and drain)
  • 1 cup (8 oz) of Feta Cheese
  • 1/4 cup of green onions, chopped (or you can use purple onion)
  • 1/2 cup of sugar (or you can use a substitute like Truvia which equals about 1/3 cup)
  • 1/4 teaspoon garlic powder
  • 1/4 cup olive oil
  • 1/2 cup apple cider vinegar

Each time I finish making this salsa, I fill up a small bowl and just savor the flavors.  After it has refrigerated for a few hours though, the flavors really get absorbed into the corn, black beans and feta.  It goes great with those scoop corn chips!  This is the perfect easy recipe to take and share with friends!  I promise your crowd will like it as much as my crowd!  Buen provecho!

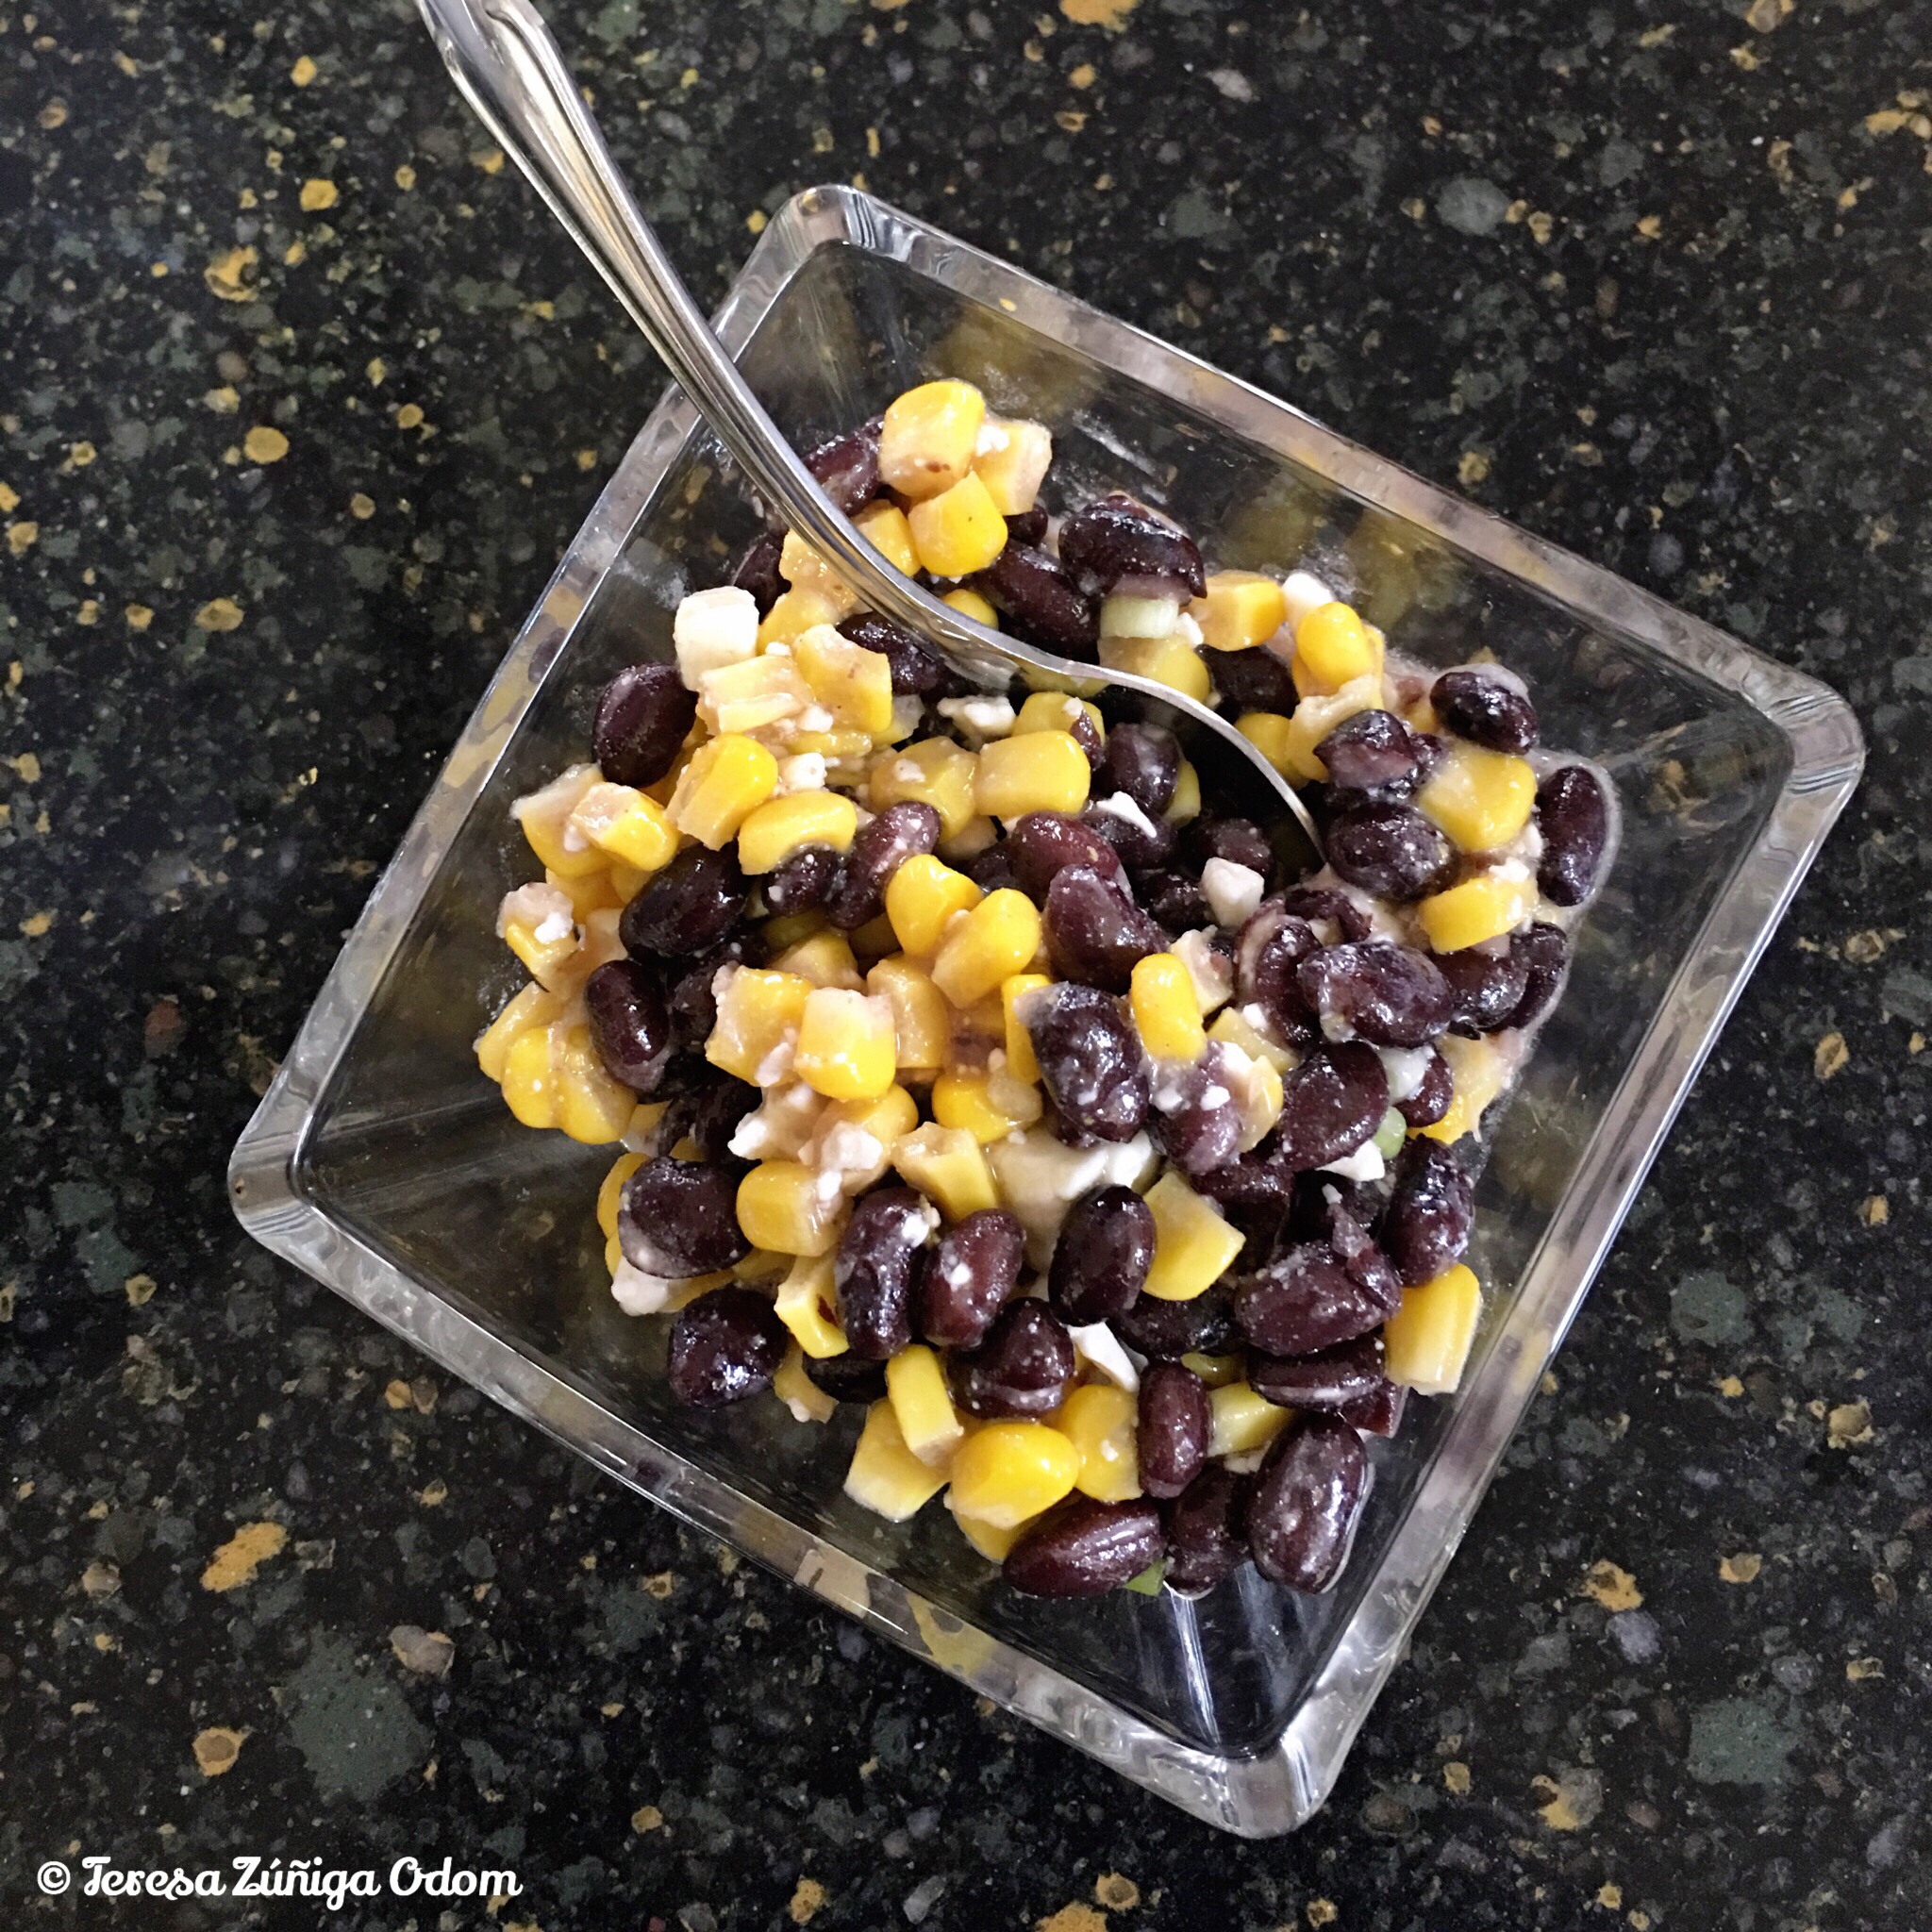
Feta, corn and black ben salsa!


Tamales and Cole Slaw? Yep!

HICA tamales with a side of Salsa Senorita spicy cole slaw!

HICA tamales with a side of Salsa Senorita spicy cole slaw!

So you say you want to enjoy a complete meal of tamales and something else…but what? What do you add to tamales to make it even more delicious? Why not cole slaw!

Lori works on the slaw ingredients while Jessica Chriesman does some filming.

Lori works on the slaw ingredients while Jessica Chriesman does some filming.

I filmed a video with Lori Sours – better known as Salsa Senorita – a few weeks back to promote the HICA tamale sale. She has some great recipes made with her wonderful salsa and I was surprised to find she added her salsa to cole slaw. She gave me a little demo in this video (posted below) and I tell you…it was delicious!!! My husband and I are not a big fans of mayo but you really can’t tell there is even mayo in it with all the other added ingredients. I have never heard of adding honey either.  I mean really? HONEY? But it’s the unexpected that really makes the difference in recipes, isn’t it?

I loved filming with Lori…she is such a natural on the camera and we had a great time talking about New Mexico and her salsa and how she got started in the salsa business. We filmed 4 segments in one day under the eye of Jessica Chriesman – a recent UAB Film graduate. She did a fabulous job showcasing Lori’s salsa recipes and also highlighting the HICA tamale sale.

Lori Sour's spicy cole slaw before it all got mixed together...

Lori Sour’s spicy cole slaw before it all got mixed together…

HICA – the Hispanic Interest Coalition of Alabama – sells tamales each year as their signature fundraising event. The organization has sold over 70,000 tamales since 2003 and in the process have introduced a wonderful part of Mexican culture to the Birmingham community. We hope to sell 18,000 this year and we have two more days to do that! I hope that if you are in the Birmingham, Alabama area that you will consider buying a dozen, or two (or three!) and support the great work that HICA does in our Hispanic community!

Me and Lori after the filming was finished.

Me and Lori after the filming was finished.

Meanwhile…check out the video and jot down the spicy cole slaw recipe from Salsa Senorita!


The Official State Cookie of New Mexico!

Biscochitos - fresh out of the oven and on my dining room table!

Biscochitos – fresh out of the oven and on my dining room table!

Biscochitos!!!  Say this word to any Mexican and they will immediately begin to drool!  I kid you not!

These cookies are some of the best you will ever taste.  They are SO good that the New Mexico legislature named them the official state cookie in 1989!  Of course, the cookies go further back when the Spanish brought the recipe over from Spain to Mexico many moons ago…

My New Mexico Zuniga family makes the best biscochitos ever.  No lie…I always look forward to having a few at our family reunions…that is, if I can get to them in time!  They are in high demand and you really have to grab one when you can or they are gone in a flash!  Both my cousins Nelinda (aka Danda) and Hortencia (aka Wiro) each have their own unique recipes of this delicious cookie.

I’ve been doing a little research into the ingredients and decided to give this one a try for my annual cookie swap party.  I always make Mexican Wedding Cake cookies and one other in case a friend comes to the party and doesn’t have time to make cookies.  This year I decided on biscochitos as my “one other.”

Ingredients for my biscochitos...except for the cloves...I decided not to use those...

Ingredients for my biscochitos…except for the cloves…I decided not to use those…

One of the main ingredients in the recipe is lard.  Yep, LARD!  As my cousin Danda always says…when people see that the recipe takes one pound of lard, they get a little scared of these cookies!  I’ve seen a number of variations to this cookie but substituting lard for anything else is a no-no.  One of my cousins uses cloves in her recipe but I opted not to use this in mine.  One uses brandy in hers while my other cousin does not.  It’s interesting how a recipe can vary.  I decided on using the brandy and I can tell you…wow!!!  What a great flavor!

So let’s get started…

  1. Preheat the oven to 350 degrees.  Sift the 6 cups of flour, 1 tablespoon baking powder and 1/4 teaspoon of salt into a bowl, and set aside.
  2. In a large bowl, cream together 2 cups of lard and 1 1/2 cups sugar until smooth. Mix in 1 teaspoon of anise extract (I over poured a bit), and beat until fluffy. Stir in 2 eggs, one at a time. Add the sifted ingredients and 1/4 cup of brandy, and stir until well blended.
  3. Roll dough into balls.
  4. Mix together the 1/4 cup of sugar and cinnamon; roll the balls in the mixture.
  5. Place cookies onto baking sheets and gently press down on the mixture so they aren’t perfectly round.
  6. Bake for 10 minutes in the preheated oven, or until the bottoms are lightly browned.

Que bueno!!!  Here are a few photos of the prep work in a slideshow!

This slideshow requires JavaScript.


Turkey Leftover Makeover

IMG_0510So…what do YOU do with your turkey leftovers?  In the past we’ve just divided everything up with the family and had turkey sandwiches or re-heated the entire meal for the next day at lunch or dinner.

This year, our family gathering on Thanksgiving day was smaller and we had an awful lot of leftover food in the fridge!  It’s hard to watch it go to waste on Saturday, especially when my son decided to go out to eat with friends and my youngest daughter was in Auburn for the Iron Bowl game!

Eddie and I were at home together finishing up some cleaning and decorating when the game began at 2:30 p.m.  As we watched the game, I decided we needed to do a little something different with the turkey and not just heat it up – blah!  Boring!  I remembered a Pampered Chef ham wreath recipe I had used many years ago.  I looked it up online but couldn’t find the exact recipe so I used what I found as a basis and just made the rest up as I went along.

Getting the ingredients to the turkey wreath ready...

Getting the ingredients to the turkey wreath ready…

I chopped up 2 cups of turkey, added 2 stalks of chopped celery, half a chopped onion, and grated parmesan cheese (I only had half a bag so used it all).  After mixing it all together, I added mayo – enough to get things to stick together, and also mustard to give it a little color – and finally, salt and pepper.  I would have preferred to use Dijon mustard but I haven’t had any in my fridge for ages.  (Note to self…buy some Dijon mustard!  My friend and chef, Nick Hartmann likes to add Dijon to steak!)

Filling is ready...now to get the Pillsbury crescent rolls positioned...

Filling is ready…now to get the Pillsbury crescent rolls positioned…

Next I took a can of Pillsbury crescent rolls (8 total) and arranged them in a star design – with the large part in the center on a cookie sheet.  This is always a little tricky to me because they aren’t necessary the same size and when you see how it’s done in a photo…well, it’s perfect and that’s just ridiculous!  I used to make the ham wreath every year at Christmas and it was NEVER perfect!  After this was done – as perfectly as I could make it – I added the turkey filling by large spoonful.  Finally, I wrapped the thin part over the mixture covering as much as possible.

Crescent rolls are arranged in a star design with the large end in the center.  It never looks as perfect as it does in the pictures...

Crescent rolls are arranged in a star design with the large end in the center. It never looks as perfect as it does in the pictures…

I cooked the wreath in a preheated over set at 350 degrees for 30 minutes.  I would have liked to have added cranberries to give the wreath a little hint of sweetness, but my husband doesn’t like cranberries that much.  I had leftover cranberry sauce from Thursday so I just added it next to my portion once the wreath was ready to devour.  So good with a buttery chardonnay!

Mission accomplished!  Big thumbs up from the husby…leftover makeover was a success!

Mexican Wedding Cookies – My Favorite Christmas Cookie!

IMG_8436Every year I have my annual Christmas cookie swap party.  Everyone brings 12 dozen (yes! you read that right!) of their one favorite cookie and you leave with 12 dozen different cookies.  I have the party the first week of December so that everyone can enjoy and share the cookies during the month of December for family gatherings, to use as gifts, or just eat them all themselves!

The cookies I make every year without fail?  The Mexican Wedding cookie!  It is my all time favorite cookie and it was my dad’s favorite cookie as well.  I remember my mother always making these cookies for him and how much he loved them.  He had a sweet tooth for certain things and Mexican Wedding cookies was one of those things!

My mother passed her recipe down to me and I am proud to say I can make them almost as well as she does.  This year I decided to document the process in photos.  They are an easy cookie to make and oh so good!  But as I was making them, I was curious about their origin.  I mean, where did they get their name and why were they also called Russian Tea Cakes?

So I did a little research online and found a great history from Chef Miguel Ravago, co-founder of Fonda San Miguel in Austin, Texas.  I noticed his mother’s recipe, that he shares in the cookbook – Baking From the Heart – includes cinnamon.  My mother’s does not, but it got me interested in trying this at some point.  It reminded me of another favorite Mexican cookie – bizcochitos that I also love and can’t get enough of when I visit my family in New Mexico!  My cousin Nelinda makes a bizcochito to DIE for!

Chef Ravago says the origin of this cookie is Arabic and was taken to Mexico by the Spaniards.  They are called Polvorones de Canela – polvorones meaning “dust” because the cookies are covered in powdered sugar and canela – meaning cinnamon.  He recalled how his mother would always have these cookies baked every week to have after church to enjoy along with a Mexican chocolate drink.  But polvorones are also part of most Mexican weddings – they are gathered into a pyramid at the receptions making a gorgeous white centerpiece and stacked very high so everyone can reach them.   At weddings these cookies are best enjoyed with a glass of  anise liqueur – according to Ravago’s grandfather.

IMG_8842Here is my mother’s recipe:  1 cup butter or margarine; 1/2 cup sifted confectioners sugar; 1 tsp. vanilla; 2-1/4 cups of all-purpose flour (do not use self-riding flour); 1/4 tsp. salt, and 3/4 cups finely chopped nuts (I use pecans).  Mix butter, sugar and vanilla thoroughly.  Measure flour by dipping method or by sifting.  Stir flour and salt together; blend in.  mix in nuts.  Chill dough.

You then heat the oven to 400 degrees.  Roll dough in 1 inch balls.  Place on ungreased baking sheet.  Cookies do not spread.  Bake 10-12 minutes, or until set but not brown.  While still warm, roll in confectioners sugar.  Cool.  Roll in sugar again.  This recipe makes about 4 dozen 1 inch cookies.

I still don’t know why these are called Russian Tea Cakes…but they will always be Mexican cookies to me.

IMG_8843

I doubled my recipe so this is really 2 cups of butter!

IMG_8844 (1)

Adding in the confectioners sugar…

IMG_8845

Next comes the vanilla…I love the smell of vanilla, don’t you?

IMG_8846 (1)

Adding the all purpose flour to the butter, sugar and vanilla mixture.

IMG_8847

The mixing is complete…the temptation to start spooning out this mixture for snacking is great…

IMG_8848

Chopping up the pecans into smaller bits to add to the mixture.

IMG_8849

Adding the pecans to the mix

IMG_8850

Mixture is ready and the confectioner sugar is on standby for the rolling to begin!

IMG_8851

Rolling the mixture into one inch balls to bake for 10-12 minutes at 400 degrees.

IMG_8852 (1)

Ready to go into the oven!

IMG_8853 (1)

Bake at 400 degrees…

IMG_8854 (1)

They definitely don’t change much after baking…but they definitely smell terrific!

IMG_8855

The confectioners sugar clings to these warm little nuggets!

IMG_8856

The finished product! Actually, after they cooled a bit, I rolled them again for added sugar high!


Did Somebody Say SALSA?!!

IMG_8074Chances are, if you’ve been to any Zuniga-Odom gatherings over the past fifteen years, you’ve sampled my mother’s famous salsa.  And chances are, you’ve left that gathering wanting the recipe!  It never fails to leave an impression and now when my friends and extended family see my mom at one of my parties, they KNOW there will be salsa!  What can I say…it’s delicious and addicting too!

I went over to my mother’s house the Tuesday before Thanksgiving to watch her make her famous salsa.  She was ready to get started as soon as I walked in the door.  In fact, she had been cooking all day and even sent me home with Puerto Rican chicken and rice a few hours later.  Our Odom family Thanksgiving dinner is on Thursday, and as I said, if mom is there – so is her salsa!

IMG_8035Mom had been to Mi Pueblo Supermarket in Pelham earlier in the day to pick up her salsa ingredients.  The most prominent items were the 20 or so Roma tomatoes she had all washed and cleaned in a silver colander.  She immediately began cutting them up and chopping them into small pieces.

As she chopped, I asked her about the recipe and where it came from.  She reminded me about a time about 15 years ago when we went to dinner at the home of a young woman I had met a work who was of Mexican decent.  Her mother lived with her and she had cooked up a huge spread of wonderful Mexican food for all the guests.  Mom reminded me that she watched the mother make salsa that day and how delicious it was and how she wanted to recreate the recipe for our family.  After the evening with our friends, she came home and talked to my dad about the salsa and ingredients.  She said to me, “After we got married, your dad taught me how to cook, PERIOD!”  (My mind flashed back to our Christmas eve enchiladas…but I’ll leave that for another blog post.)  So, naturally she wanted to run the ingredients by him and get his stamp of approval.  Then, she went on to add her own personal touches and “Barb Zuniga’s Salsa” was born!

IMG_8064After chopping up all the tomatoes, mom chopped up 2 medium-sized sweet Vidalia onions and added them to the tomato mix.  Next, she chopped up about 1-1/2 bunches of cilantro and mixed it in – oh my…that stuff smells soooo good!

She then opened 1 can of Hatch Chopped green chiles mild (4 oz. can) and 1 (3.3 oz.) can of La Costeña Green Chiles – diced, and added them to the bowl stirring everything together.

Next she started adding a pinch of this and a dash of that…and that when I said to her “you’re cooking the old-fashioned way!  I need some more specifics here!”  She slowed down and said, “yes, I guess you could say you need to add about 1/4 teaspoon of salt (as she sprinkled salt over the mixture from the container) and about 1 teaspoon of garlic.  Next she squeezed about 1 tablespoon of lemon juice over the mix.  And finally, about a tablespoon and a 1/2 of sugar “to give it the right flavor!”

IMG_8068As I took pictures of the proceedings, I couldn’t wait to grab a tortilla chip and sample the salsa.  We both did and it tasted perfect to me.  Mom wasn’t convinced and said “needs a little more salt” and proceeded to sprinkle a bit more salt into the bowl.  She said “you gotta have that kick but also a little sweet taste!”  We sampled again…more perfection and deliciousness…

She quickly filled 2-1/2 Ball Mason jars with the salsa.  Once we open these jars on Thanksgiving day, the flavors will have blended together so well that I don’t think we’ll be able to keep the family away from the salsa and chip bowl!

There are many salsa recipes out there but I have to say…my mom’s recipe is my favorite!

IMG_8077

Mom chops up the cilantro for the salsa mix.

IMG_8078

Mom mixes in the cilantro to the chopped Roma tomatoes.

IMG_8082 IMG_8072 IMG_8079 IMG_8080 IMG_8075


IMG_8076

Mom poses with the finished product…3 jars of her famous salsa!